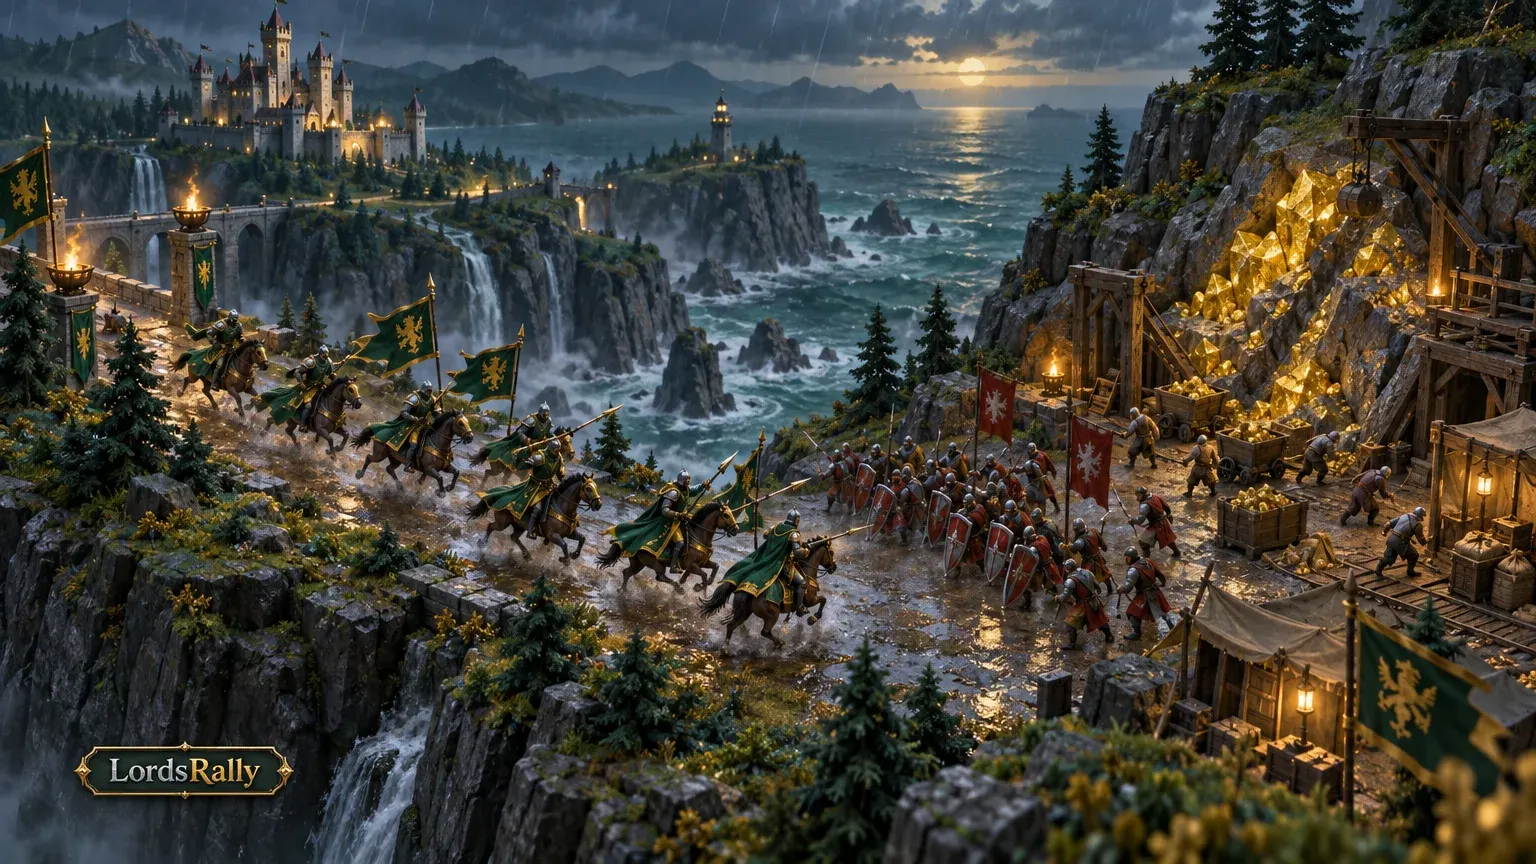
- In a tile attack, your target is the gathering march on the resource tile, not the castle.
- Use troop matchups, but never assume victory against a composition you have not seen.
- Check your arrival time and potential losses; use the first battle report to decide whether to strike again.
CONTENTS
Not every occupied resource tile on the Lords Mobile map is an easy target. Attacking a castle and hitting a gathering march require different decisions: Will you arrive before the troops leave? What might be stationed on the tile? What will one hit cost you? A bad calculation can cost you a war march for a small amount of resources.
This guide focuses on attack decisions in tile fights, not gathering efficiency. If you want to choose safer tiles for your own gatherers, check the economy guides on the blog. Here, we will look at what attackers and defenders can control when a fight starts.
Your tile target is a march, not a castle
In a tile attack, you hit the troops on a resource tile—not the enemy’s castle wall or every troop inside their castle. That distinction matters when choosing a target. A high-might player might send a small gathering march, while a lower-might player might send a substantial force. Do not mistake castle might for the size of a tile army.
Say you spot 2 occupied tiles of the same resource type. One belongs to a player in a powerful guild; the other belongs to a smaller guild. That alone does not make the second tile easier. You have confirmed neither march’s troop count nor its composition. First, check whether the tile is still occupied, how long your march will take, and how the other side might respond after the fight.
A shield on the castle does not mean troops sent to a tile are safe. If you are defending, do not treat your shield as a substitute for watching your gatherers. If you are attacking, check the map again before starting a long march against a player who may recall their troops.
Choose a tile: distance and uncertainty
A good target is not merely an occupied tile. It is a tile likely to remain occupied when your march arrives. Suppose one target is about 2 minutes away and another is 7 minutes away. Even if the second looks more tempting, the longer trip gives the gatherer more time to leave. Do not ignore that uncertainty if you do not know when their gathering will finish.
Narrow your choice with 3 questions: How far away is the tile? If the opponent recalls their march, where will my troops end up? Am I ready for another fight in that area afterward? Near a busy guild hive, account for the response that could follow—not just the first clash.
If you use LordsRally, !tiles can help find a target player’s tiles, while !guildtiles can help find guild tiles. Neither guarantees a win or reveals the exact troop composition on a tile; check the current in-game map before attacking. You can review command coverage on the commands and features pages.
How to choose troops and formation
The basic Lords Mobile troop matchup is a starting point: cavalry counters infantry, infantry counters ranged, and ranged counters cavalry. But if you do not know which troops the opponent sent gathering, picking one counter does not guarantee a result. The risk of facing an unknown composition can outweigh the advantage of a favorable matchup.
For example, if an earlier battle report showed the same target gathering with mostly cavalry, a ranged-heavy attack may make sense. Treat that as a clue, not proof: the opponent could build their next gathering march differently. If you send mostly one troop type, review which troops your formation puts in front. If you send a mixed army, know which troops will take the first hits. A poorly chosen formation can undermine an otherwise sensible troop mix.
Check your war heroes and available buffs, too; do not confuse a gathering setup with an attack setup. Filling your march capacity is not an attack plan by itself. After the first fight, inspect the opposing troops and your losses in the report. The guide to planning a second hit from a battle report goes deeper on that decision.
Basic troop matchups
| Favored troop | Counters | Decision note |
|---|---|---|
| Cavalry | Infantry | Do not expect a certain result without knowing the tile composition. |
| Infantry | Ranged | Check which troops your formation puts in front. |
| Ranged | Cavalry | Use an earlier battle report as a clue. |
Time the first hit; read the report before repeating it
Check your arrival time one last time before ordering a tile attack. If you planned a march of roughly 3 minutes but the target left while you prepared, your reason to attack is gone. When several players are watching the same tile, make the call from the live map—not an old screenshot.
Do not immediately send a second march with the same setup after the first fight. Check at least 3 things in the battle report: Which troop types did you face? Which of your troops took the heaviest losses? Does the result justify another hit? If your losses were heavy, do not continue just because you started the fight. You may now know more about the defender’s composition, but remember: they have seen your attack as well.
If your guild is coordinating the tile attack, make the call clear: identify the target tile, the attacker, and the condition for calling it off. When 2 players march on the same target without a plan, the second may arrive at an empty tile—or face an unprepared-for response.
Check before ordering an attack
- Is the tile still occupied?
- Is the time until your march arrives acceptable?
- Can you absorb the potential troop losses?
- Will you stop if the first report looks bad?
Defense: when should you recall your gatherers?
The cheapest win in tile defense is avoiding an unnecessary fight. When you spot a threat approaching a gathering march, compare two things: Can you recall your troops in time, and are the remaining resources worth the possible losses? Fighting over a tile with little left to gather is often a poor trade.
Suppose you have 2 gathering marches: one near your guild hive and another in a distant, contested area. Do not manage them the same way. Check the distant march more often, and decide whether to recall it when a threat appears—do not wait for it to finish gathering. Do not assume your gatherers are equipped for the same job as your war army. They are there to collect resources, not hold off an attack.
A recall will not always arrive in time. That is why defense starts when you choose the tile, not when an enemy march appears. Instead of committing to a long gathering trip on a tile surrounded by active opponents, choose one you can monitor more easily. Learn your guild’s rules for tile fights beforehand, too; an avoidable clash can turn a resource plan into a war.
In tile attacks, the right matchup and timing matter more than rushing. If you want to discuss how your guild finds targets and shares war intelligence, get in touch with LordsRally.
Frequently Asked Questions
Are gatherers safe on a tile if their castle is shielded?
Do not equate a castle shield with safety for troops on a tile. Watch your gathering march separately and consider recalling it when you spot a threat.
How do I choose troops to counter an enemy on a tile?
Do not trust a troop-type guess without evidence. Use an earlier battle report as a clue if you have one, but account for the opponent changing their next march.
Should I attack the same tile again immediately?
First, read the troop matchup and your losses in the report. Make a second attack only if the new information gives you a concrete plan to change your approach.
LordsRally tracks your target castles, finds them again after they teleport and alerts your guild.
Buy Now